Step 1.
I started by spraying the models dark green. I used Army Painter Angels Green, which is a very good dark green, although not really dark enough for Dark Angels in my opinion.
Step 2.
Paint all of the basic details. In this case I used Mechrite red and Boltgun metal on the gun, and body of the marine, Iyandan Darksun for the yellow eagles.
Step 3.
Paint the details on the model. I used Dhenab stone on purity seals paper, Mechrite red on the eyes and use a light amount of blazing orange to highlight the gun.
Step 4.
Next step is to apply the washes. I used Badab black all over the armour of the model and all the boltgun metal parts, being careful to avoid the red as I wanted a warm red to contrast with the dark green. I used Devlan mud to do the purity seals and robes.
Step 5.
Once the model is dry it is time to base it. I use a fairly time intensive process for this. If you have a better method please do use that instead. I first coat the base in Calthan brown. I then dip this in slate for model railways which I purchased from my local modelling shop. This is then left to dry for two hours. I am sure you can leave it less time, but I like this to be totally dry for the next stage.
Step 6.
After it is totally dry I then apply a watered down layer of PVA glue over the whole base. Allow all the excess glue and water to drain off. This should be left an hour to partially dry before the next stage. The reason I do this is because in the past I have had bad experiences of the basing coming off models.
Step 7.
The final stage, apply small amounts of static grass to the base. I find this is best to apply once the glue is partially dry so that the grass doesn’t move around too much. I then left this overnight, as the PVA takes around eight hours to totally dry.
Step 8.
After the base has dried I applied transfers, which were then sealed with matt varnish.
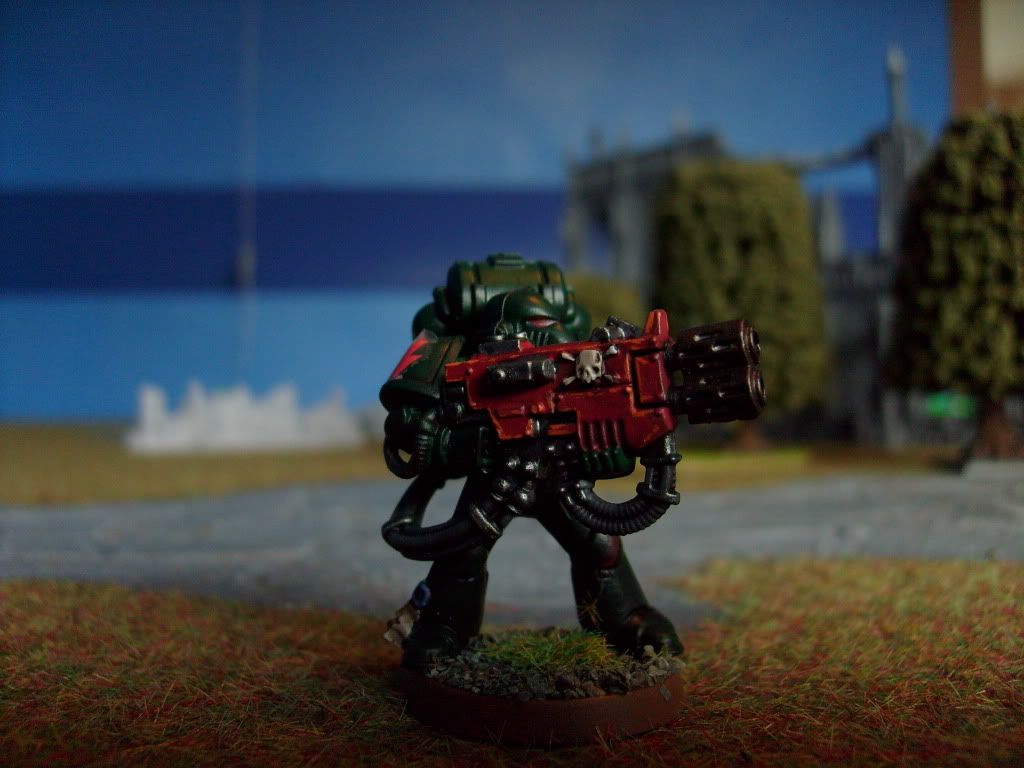
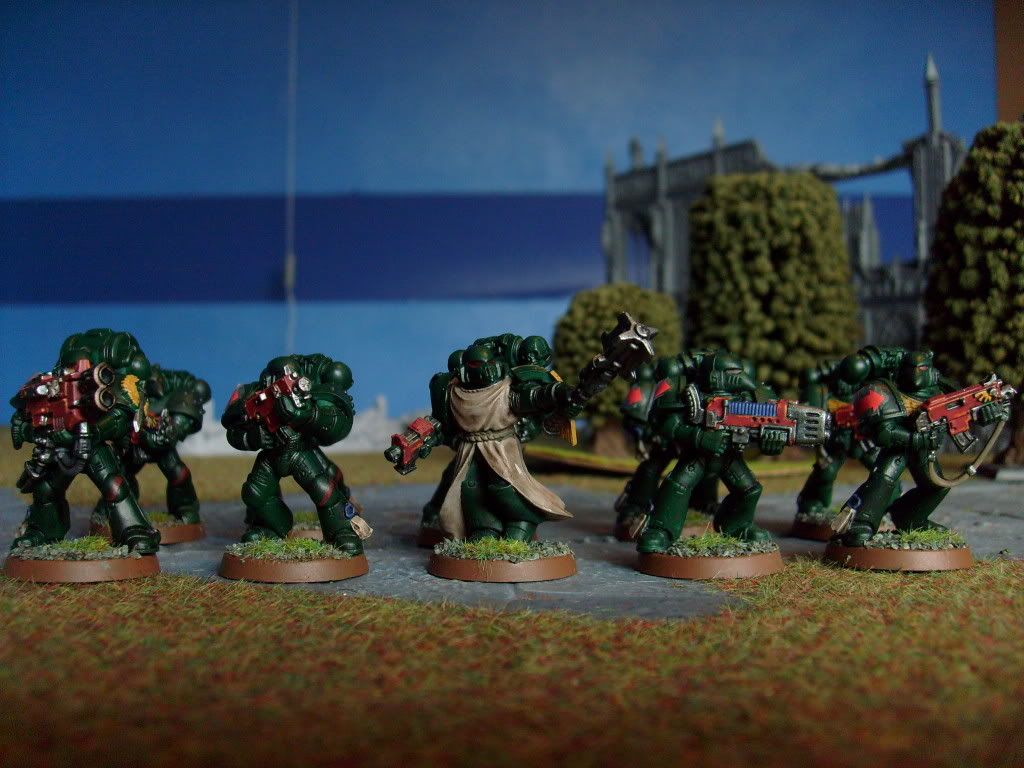
Photos below!


No comments:
Post a Comment