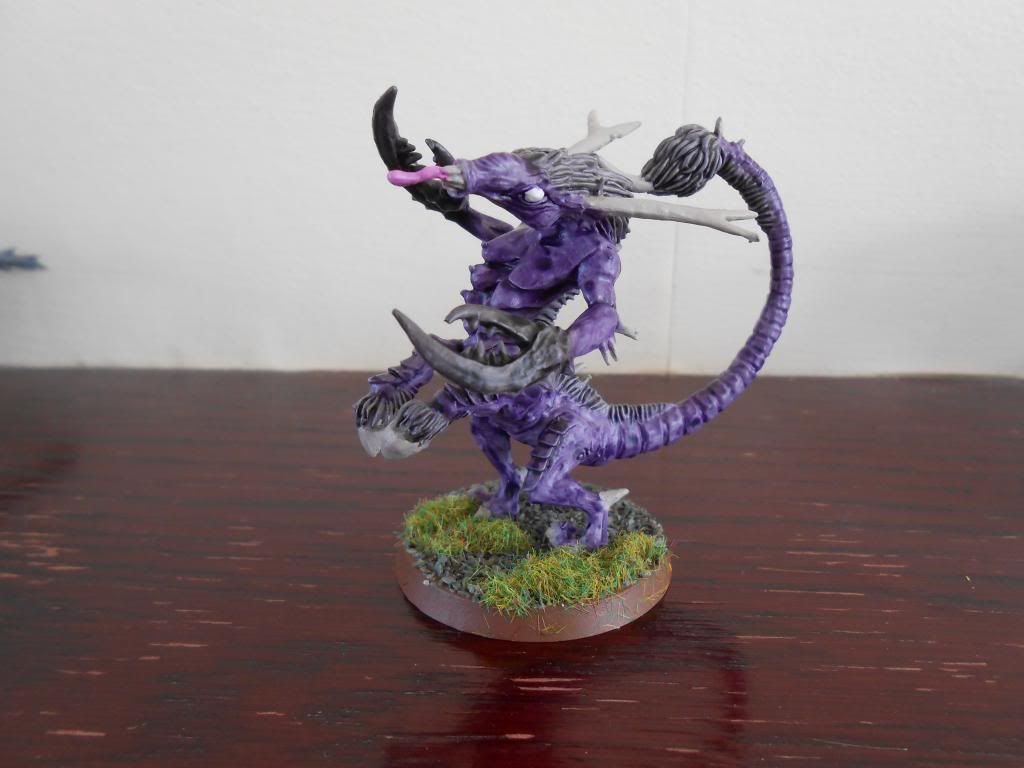
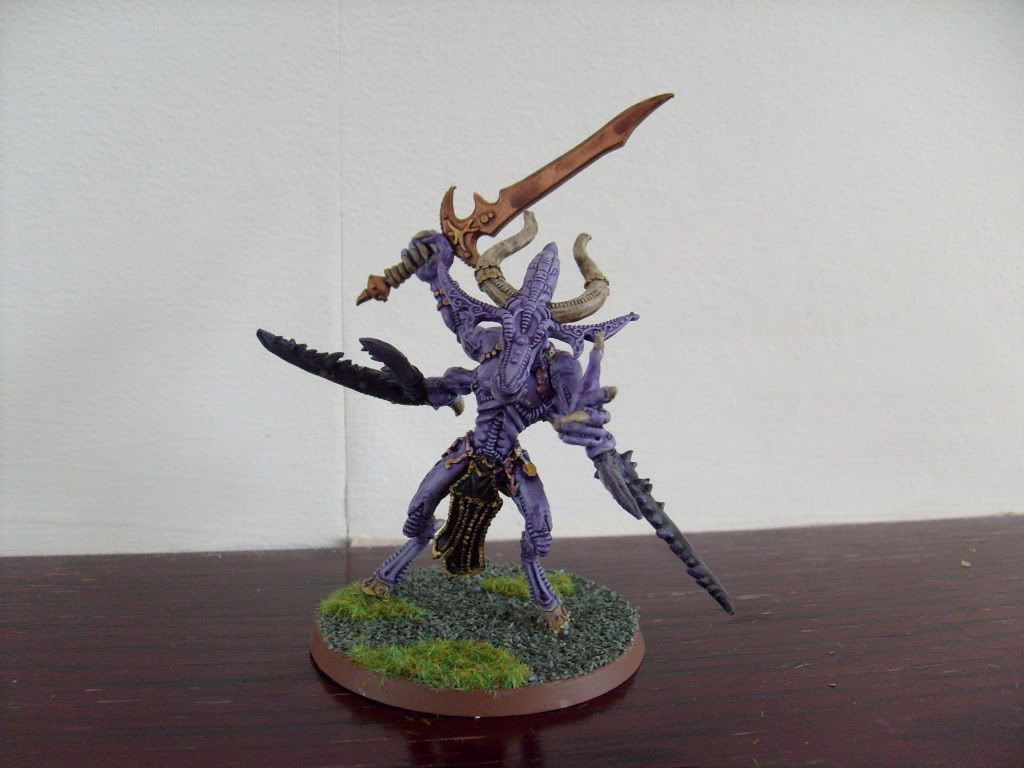
So instead I decided to take a different approach and go for a much darker theme. In the past my Slaanesh units have been very bright such as the very bright and poorly painted chariot I did around six years ago which can be found towards the bottom of this article, along with the new and improved scheme.
So while painting up my 40k Daemon army, I decided to go with something a little different. A darker, more serious theme, while still maintaining the key Slaanesh colours to embrace the fact that this is my favourite Chaos god, and I really wanted to do it justice. Khorne, Nurgle and Tzeench schemes are simple, quick and easy to pull off.
This new Slaanesh one is quite time consuming, as it involved several layers of washes to add highlights which you have to wait to dry. I am not a pro painter by any stretch, but I do like my models to at least look passable!
Step 1.
Spray the models White. I used GW white undercoat spray, but really any will do.
Step 2.
Paint the whole model Slaanesh Grey. It is actually a purple colour when it dries. Very strange naming convention really.
Step 3.
Paint all the spines in Dheneb stone, or some other bone colour. I still have the old foundation colour so that is what I used. I painted the horns this colour as well.
Step 4.
Give the flesh areas a Purple wash. I used Leviathan Purple. I then used Nuln oil on the black areas, giving the claws two separate coats. You need to leave an hour to two hours for the washes to dry.
Step 5.
Paint the details. I painted the eyes white and tongues pink on the Fiends. I used the same purple wash on the tongue. On the Keeper of Secrets I painted the eyes red and the Sword bronze before giving it a black wash.
Step 6.
Once the model is dry it is time to base it. I use a fairly time intensive process for this. If you have a better method please do use that instead. I first coat the base in Calthan brown. I then dip this in slate for model railways which I purchased from my local modelling shop. This is then left to dry for two hours. I am sure you can leave it less time, but I like this to be totally dry for the next stage.
Step 7.
After it is totally dry I then apply a watered down layer of PVA glue over the whole base. Allow all the excess glue and water to drain off. This should be left an hour to partially dry before the next stage. The reason I do this is because in the past I have had bad experiences of the basing coming off models.
Step 8.
The final stage, apply small amounts of static grass to the base. I find this is best to apply once the glue is partially dry so that the grass doesn’t move around too much. I then left this overnight, as the PVA takes around eight hours to totally dry.


No comments:
Post a Comment