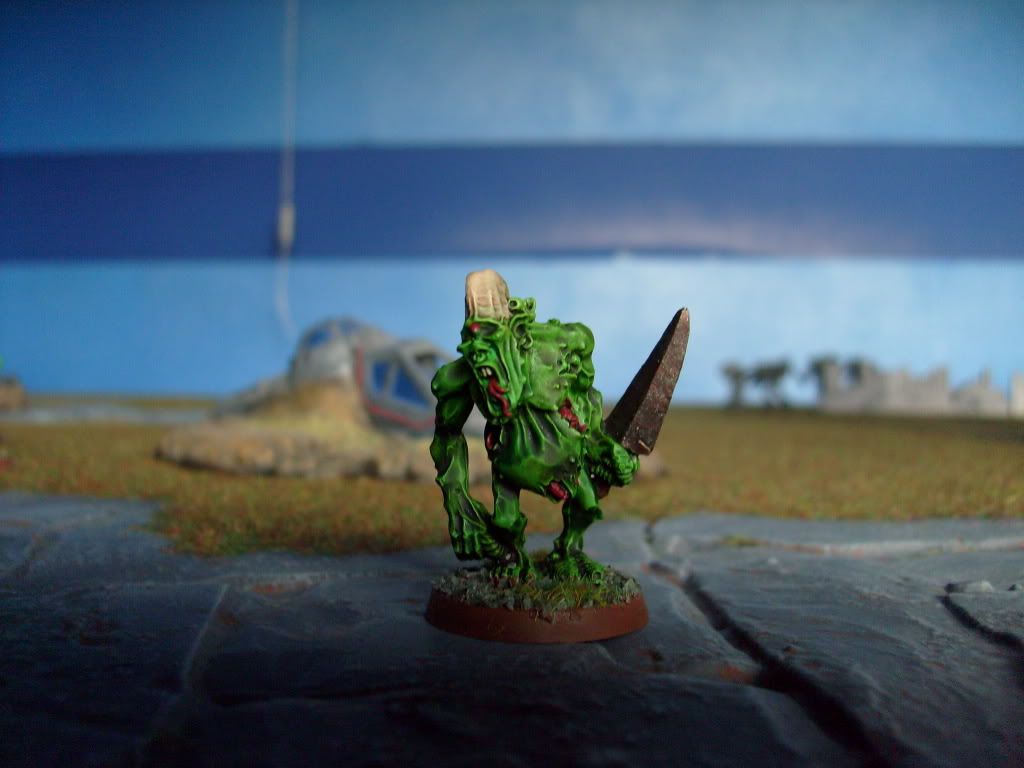
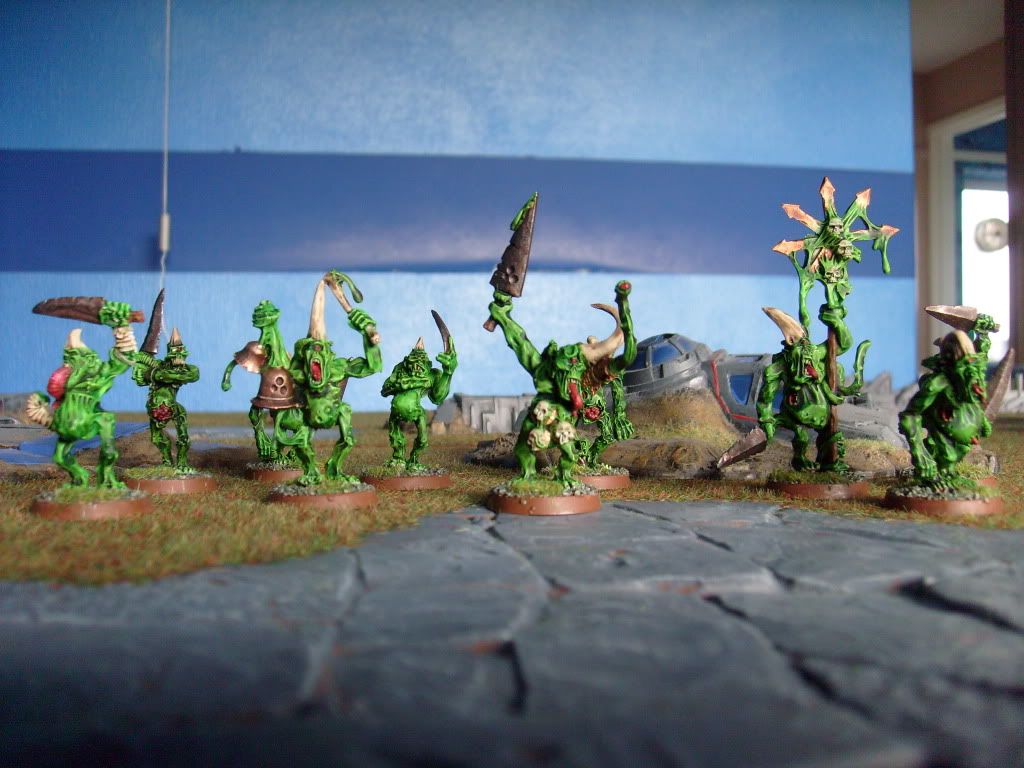
Step 1.
Undercoat the models. I used GW skull white spray. Many guides on how to paint Plaguebearers use black undercoat. I wanted a brighter colour to my models, so I avoided black.
Step 2.
Basecoat the models. I used a decade old putrid green paint for my base coat. This is unfortunately no longer available from GW and looking at their current range, Scorpion Green is probably the nearest colour to this.
Step 3.
I applied liberal amounts of Thraka Green over all of the base coat. Leave this to dry completely. Due to the large quantity of wash applied I left this for two hours.
Step 4.
Paint all of the basic details on the model. I used Mechrite Red for the innards and eyes, with Calthan Brown for the wood and edging on the base.
Step 5.
For the other details I used Vallejo game colour paints because I prefer the coverage of this range to non-foundation GW paints. I used Bonewhite on nails and horns, Brassy Brass on the musicians bell and on the icon. The swords were base coated Tinny Tin. You can of course use Bleached Bone, Brazen Brass and Tin Bitz instead. Since Brazen Brass is no longer available you would need to use Dwarven Bronze instead.
Step 6.
I wanted to make the swords appear rusted. To do this, I used a combination of stippling and lightly drybrushing Gunmetal Metal onto the blades. You can of course change this to the GW equivalent, Boltgun metal.
Step 7.
Cover the whole model, top to bottom in Devlan Mud. This is an exceptional colour for adding shade to models. Leave to dry. I left mine around two hours again.
Step 8.
Once the model is dry it is time to base it. I use a fairly time intensive process for this. If you have a better method please do use that instead. I first coat the base in Calthan brown. I then dip this in slate for model railways which I purchased from my local modelling shop. This is then left to dry for two hours. I am sure you can leave it less time, but I like this to be totally dry for the next stage.
Step 9.
After it is totally dry I then apply a watered down layer of PVA glue over the whole base. Allow all the excess glue and water to drain off. This should be left an hour to partially dry before the next stage. The reason I do this is because in the past I have had bad experiences of the basing coming off models.
Step 10.
The final stage, apply small amounts of static grass to the base. I find this is best to apply once the glue is partially dry so that the grass doesn’t move around too much. I then left this overnight, as the PVA takes around eight hours to totally dry.


No comments:
Post a Comment